
3. What You Need Before You Start (It’s Probably Already at Home)
Before you begin, gather the following items, which you likely already have at home: a step ladder or sturdy chair, a garden hose or a large cup of water, and a small towel or cloth. If your porch light is positioned higher up, a step ladder will ensure you can reach it comfortably and safely.
You may also want to have a small bucket or container on hand for later, to catch the water and debris that will be emptied from the fixture. It’s a simple setup that requires no special tools or cleaning solutions, making it an accessible and cost-effective method for all homeowners.
4. The Simple Setup: Getting Your Porch Light Ready
Start by turning off the power to your porch light at the switch or circuit breaker to ensure safety. Carefully remove any screws or fasteners holding the glass casing in place, if necessary, allowing you to access the interior of the fixture.
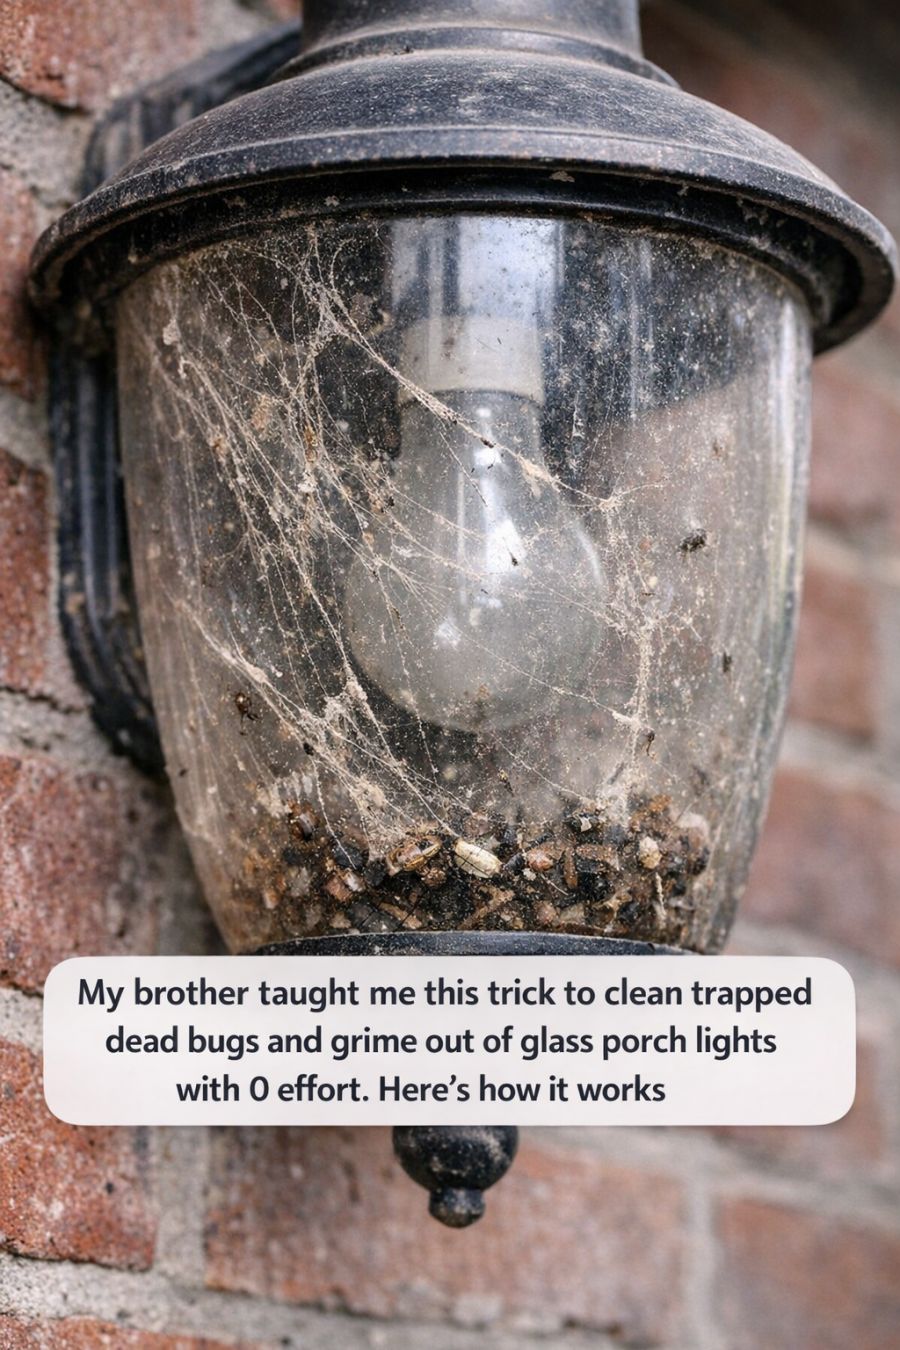
Once you have access, inspect the interior for any loose debris that can be easily removed by hand. This will make the subsequent cleaning process more effective. Ensure that the light bulb and any electrical components are adequately protected from water exposure, either by covering them with a waterproof material or removing the bulb entirely if possible.
5. The No-Scrub Method: Let Gravity And Motion Do The Work
With your setup ready, gently fill the glass casing with water, either using a garden hose or by pouring from a large cup. Aim to fill it about halfway to three-quarters full, ensuring there’s enough water to create movement but not so much that it overflows.
Once filled, carefully tilt and shake the fixture, allowing the water to slosh around inside. The movement of the water will dislodge bugs and grime, breaking down the buildup without the need for scrubbing. Repeat this step a few times, adding more water if necessary, until you notice the interior becoming clearer.
6. How Long It Takes And What You’ll See Happen Inside
The entire process typically takes about 10 to 15 minutes, depending on the level of buildup inside your porch light. As you shake and tilt the fixture, you’ll see the water become murky, indicating that it’s effectively removing grime and debris.
After a few rounds of shaking, the water should run clearer, signaling that most of the dirt has been dislodged. At this point, you can proceed to empty the water and check the results. You should notice a significant improvement in the clarity of the glass and the brightness of the light.
7. Safely Dumping Out The Dead Bugs And Grimy Water
To safely dispose of the murky water and debris, position your bucket or container beneath the fixture to catch the contents as you carefully tip it out. Ensure you hold the glass casing securely to prevent any accidental drops or spills.
Once the water is emptied, use a small towel or cloth to wipe down any remaining moisture from the interior surfaces. This will help prevent streaks and ensure the glass dries clear. Dispose of the collected water and debris appropriately, avoiding areas where they might be tracked back into your home.
For Complete Cooking STEPS Please Head On Over To Next Page Or Open button (>) and don’t forget to SHARE with your Facebook friends
ADVERTISEMENT
