
4. Step-By-Step: Setting Up The Magic Tarnish-Removing Bath
Begin by lining the bottom of your basin with aluminum foil, shiny side up. The foil is crucial as it facilitates the reaction needed to remove tarnish.
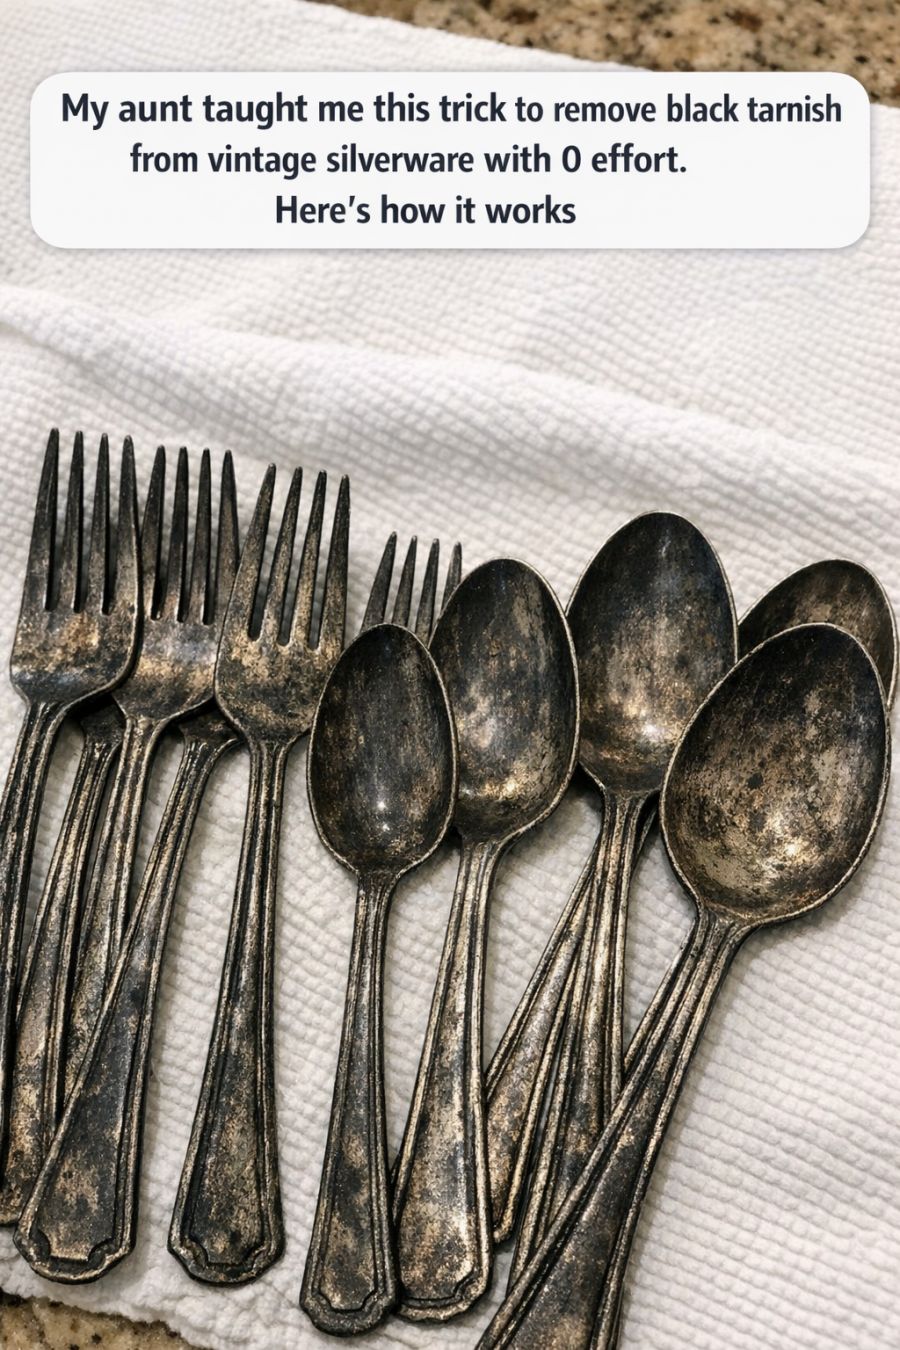
Next, place your tarnished silverware on top of the foil. Ensure the pieces are in contact with the foil for the reaction to occur effectively.
Sprinkle the baking soda evenly over the silverware. Then, carefully pour boiling water into the basin, covering the silverware completely. As you do this, you’ll notice a gentle fizzing sound, which means the reaction is underway.
5. How The Science Works While You Do Nothing
The process that unfolds in your basin is a simple chemical reaction known as ion exchange. The baking soda, aluminum foil, and boiling water create an electrolytic solution.
In this solution, the aluminum attracts the sulfur atoms away from the silver sulfide, effectively reversing the tarnish. As a result, the silver is left behind in its untarnished state, restoring its shine without any manual effort.
6. How Long To Leave It And When You’ll See Results
Typically, the tarnish removal process takes about 10 to 15 minutes. Check the silverware periodically; you may notice the tarnish fading almost immediately.
For heavily tarnished pieces, you might need to let them sit a bit longer. Once you see the silver gleaming through, it’s time to remove them from the bath.
7. The Quick Rinse-And-Dry Move That Makes Silver Sparkle
Once the tarnish is gone, carefully remove the silverware from the basin, using tongs if the water is still hot. Rinse each piece thoroughly under warm running water to remove any remaining baking soda residue.
After rinsing, gently dry the items with a soft, lint-free cloth. This final step ensures that your silverware sparkles and is free from water spots or streaks.
For Complete Cooking STEPS Please Head On Over To Next Page Or Open button (>) and don’t forget to SHARE with your Facebook friends
ADVERTISEMENT
