
Perfect For:
This recipe is ideal for keto dessert lovers, meal prep treats, holiday platters, or quick weeknight indulgences. It also works great for anyone transitioning to a low-carb lifestyle who still wants familiar comfort foods. Since it stores well, it’s perfect for keeping a stash in the fridge or freezer.
Why You’ll Love This Recipe:
Rich chocolate flavor without sugar
You get the indulgence of candy while staying keto-friendly.
Easy no-bake preparation
No oven needed, which keeps things simple and stress-free.
Freezer-friendly convenience
You can make a batch ahead and enjoy anytime cravings hit.
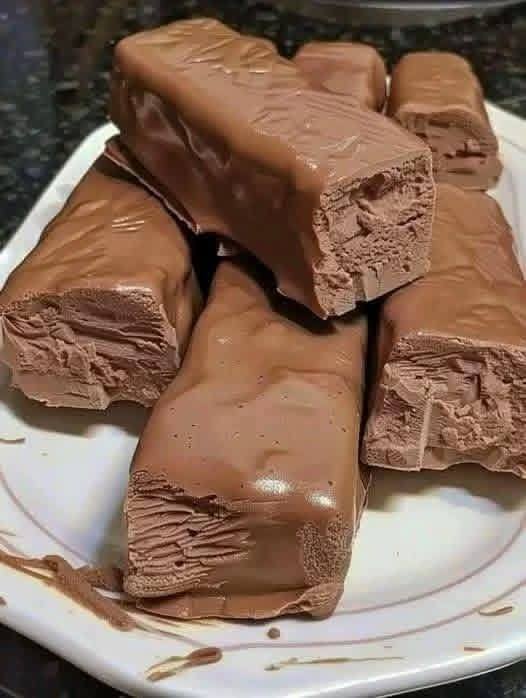
Light mousse-like center
The fluffy texture makes it feel special compared to dense desserts.
Customizable sweetness
You can adjust the sweetener to your personal preference easily.
Key Ingredients:
Heavy Cream. I prefer full-fat for the richest texture. It whips into a fluffy base that gives the filling its signature airy consistency.
Cream Cheese. Adds body and slight tang. It helps stabilize the mousse so the bars hold their shape after chilling.
Unsweetened Cocoa Powder. Provides deep chocolate flavor without carbs. Dutch-processed works great for a smoother taste.
Powdered Keto Sweetener. A powdered form blends best for a smooth filling. Erythritol blends or monk fruit mixes are great options.
Sugar-Free Chocolate Chips. Used for the coating to create that classic candy shell. Choose a brand you enjoy since flavor matters here.
Butter or Coconut Oil. Helps thin the melted chocolate for easier dipping and smoother coating.
Vanilla Extract. Adds warmth and enhances the chocolate flavor naturally.
Common Mistakes to Avoid:
Not chilling the filling long enough before cutting, which causes messy bars
Overheating the chocolate, leading to thick or grainy coating
Using granulated sweetener instead of powdered, creating a gritty texture
Skipping the freezing step before dipping, making coating difficult
Required Equipment:
Mixing bowl — gives space for whipping the filling evenly.
Hand mixer or stand mixer — creates the fluffy mousse texture quickly.
Parchment paper — prevents sticking and makes cleanup easy.
Microwave-safe bowl — ideal for melting chocolate smoothly.
Knife — for clean, even bar shapes.
Caleb’s Recipe Tips
Chill the bars in the freezer for about 20–30 minutes before dipping them in chocolate. Trust me, this keeps them firm and makes coating way less messy.
If your melted chocolate feels too thick, add a tiny bit more coconut oil. It should be fluid enough to pour but not watery.
Use a fork to dip the bars instead of tongs. It lets excess chocolate drip off and gives you a cleaner finish.
Taste the filling before chilling and adjust sweetness if needed. Sweeteners vary a lot, so this step makes a big difference.
Let the coated bars set in the fridge rather than at room temperature. This keeps the chocolate shiny and prevents melting.
Storage Instructions:
Store leftovers in an airtight container in the refrigerator for up to 1 week. For longer storage, place bars in a freezer-safe container with parchment between layers and freeze for up to 2 months. Thaw in the fridge for best texture. Keeping them chilled helps maintain the keto-friendly chocolate coating without melting.
ADVERTISEMENT
